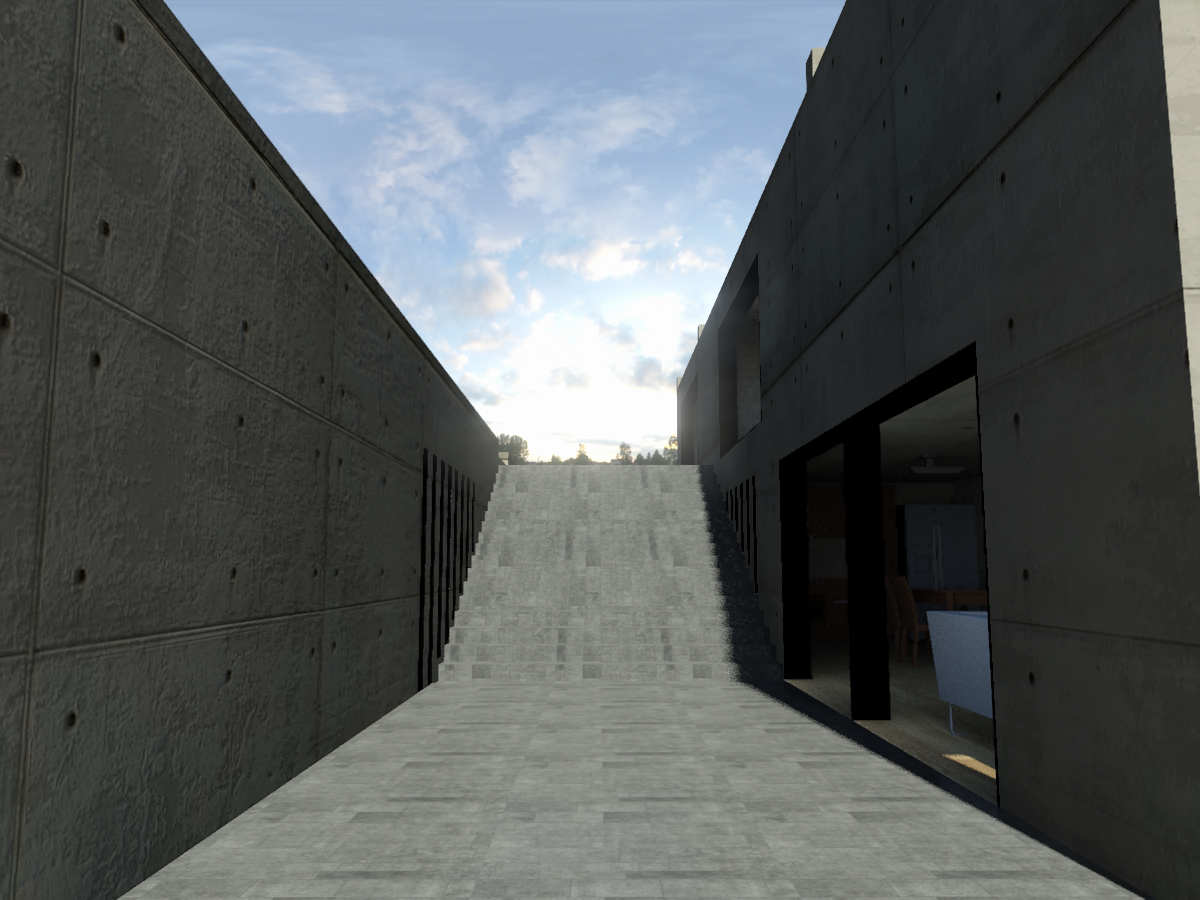
My first 3D animation rendering.
Koshino House, Tadao Ando.
Computer Applications 2...completed! ;)
 |
| First, select your daylight system and go to Modify. Click Setup to change the time of the day. |
 |
| You can change the time according to what time you want to start and which scene you prefer. In my case, I started off at 5AM where the sun starts to rise. |
 |
| Then, more your trackbar to the end of the frames and select auto key at the bottom. Auto key will help you to add key frames automatically if changes is done directly on the 3D modelling. |
 |
| Repeat the same steps. Select daylight system, go to Modify, select setup and change the time. I want the time daylight to stops as the sun sets. That's why i chose 7PM. |
 |
| Try to move your trackbar and you will see how the sun moves across the building. |
 |
| First, you can use line or nurbs curve to set your path. In my case, I used line which goes along the facade. |
 |
| Adjust the height of the line to the eye level of the camera. |
 |
| Choose the type of camera you prefer. Target or Free. In my case, i chose free. |
 |
| Place the camera anywhere you want. |
 |
| Rotate the camera to the right angle. |
 |
| Go to Animation, Constraints then select Path Constraint. |
 |
| After that, select the line that you made as the path. |
 |
| Try to move the trackbar at the bottom and you will notice the camera moving along the line. |
 |
| You can change the number of frames by clicking the icon with a pop up and a clock at the bottom right corner. Change the number to the number of frames you prefer at "Length" or "End Time". |
 |
| Zoom out to the four windows and change one of the panels to the camera view you just made. |
 |
| From here, you will be able to see the camera view as you try to adjust the right angles. |
 |
| Then, scroll down to the Render Output. Click Files and save the file as avi. |
 |
| Before the rendering starts, open the render setup (F10). Under the Common Tab, at the Common Parameters, check range and type in the number of frames you want to render. |
 |
| To decrease the render time, you can try to generate the final gather map first. Under the Indirect Illumination tab, scroll down until you see "Reuse (FG and GI Disk Caching)" You can skip several frames which will increase render speed but reduce the quality of the render. |
 |
| Then, Let the RENDER begins! |
 |
| Select the free light under photometric light. |
 |
| Choose the shape of your free light you prefer. |
 |
| Place it at the space you want. Choose the type of light your prefer. |
 |
| Type in the amount of light that is suitable. |
 |
| Remember to adjust your time for your daylight system so that your artificial lighting suits the environment. |
 |
| This is the draft i rendered before rendering the final product. |
 |
| My Final Rendering. |
 |
| First, select your glass. |
 |
| Put them in the same layer. |
 |
| Hide the layer for the glass. |
 |
| Go to the elevations. Select Mr Sky Portal under Photometric Lights. Create it over the frame of the windows. |
 |
| Make sure your sky portal is created on the right direction where the arrows points towards the direction of the sunlight. |
 |
| Have the sky portals over all your windows. |
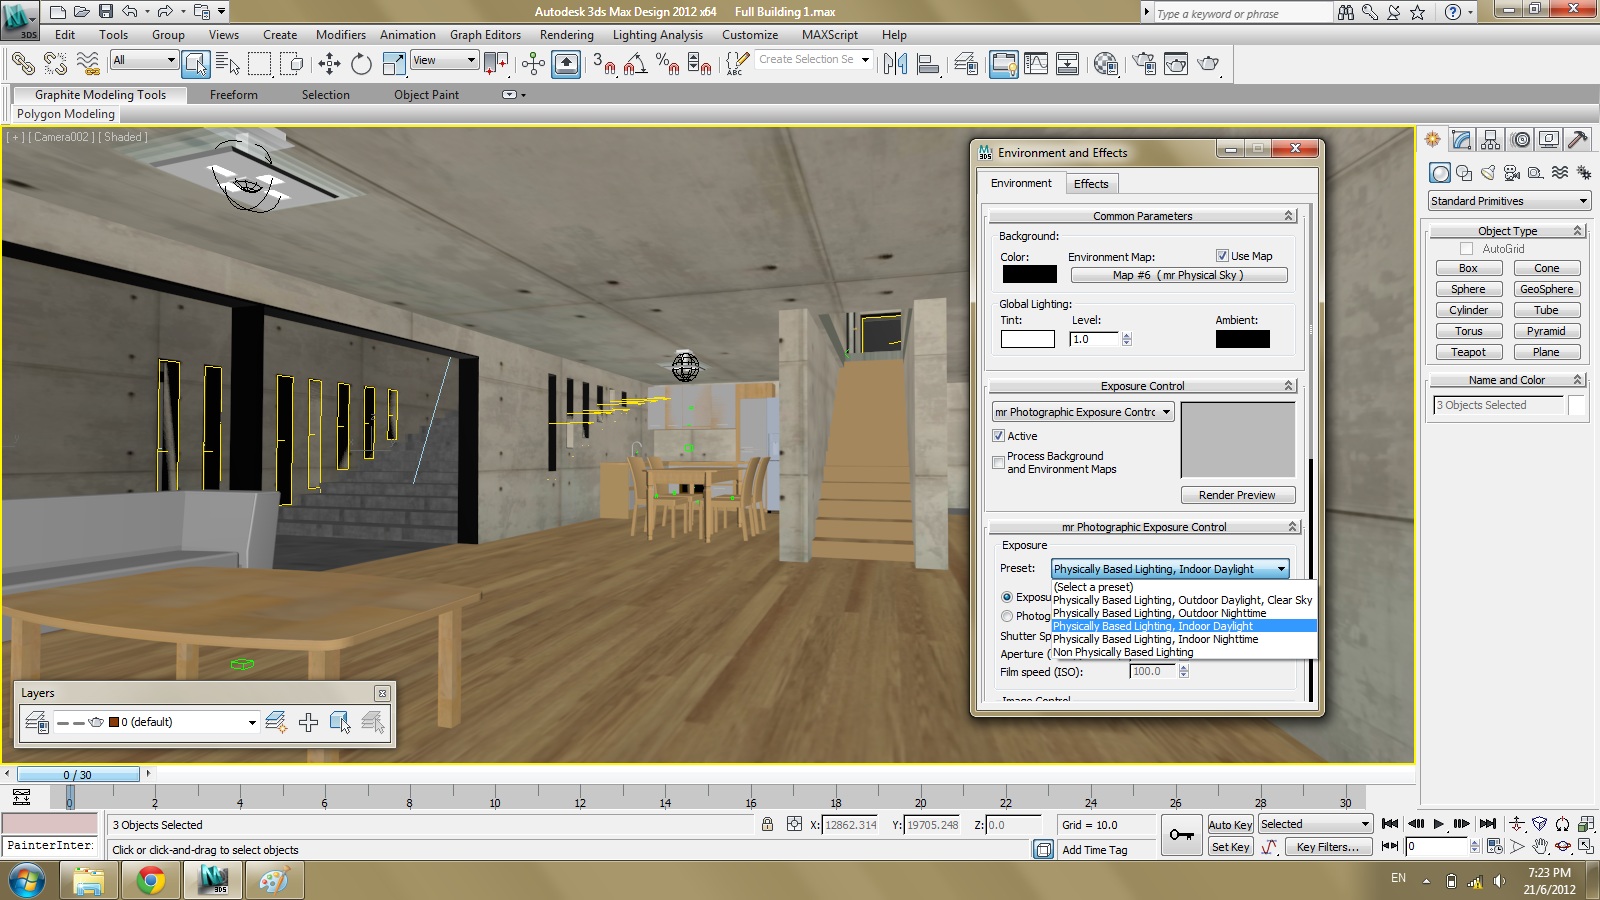 |
| Before your render, remember to change your exposure to indoor daylight. |
 |
| This is a draft i rendered before i added the sky portal. |
 |
| This is the draft i rendered after i added the sky portal. |
 |
| My final render of the interior. |