


Project 2 - Completed.
 |
| Select the free light under photometric light. |
 |
| Choose the shape of your free light you prefer. |
 |
| Place it at the space you want. Choose the type of light your prefer. |
 |
| Type in the amount of light that is suitable. |
 |
| Remember to adjust your time for your daylight system so that your artificial lighting suits the environment. |
 |
| This is the draft i rendered before rendering the final product. |
 |
| My Final Rendering. |
 |
| First, select your glass. |
 |
| Put them in the same layer. |
 |
| Hide the layer for the glass. |
 |
| Go to the elevations. Select Mr Sky Portal under Photometric Lights. Create it over the frame of the windows. |
 |
| Make sure your sky portal is created on the right direction where the arrows points towards the direction of the sunlight. |
 |
| Have the sky portals over all your windows. |
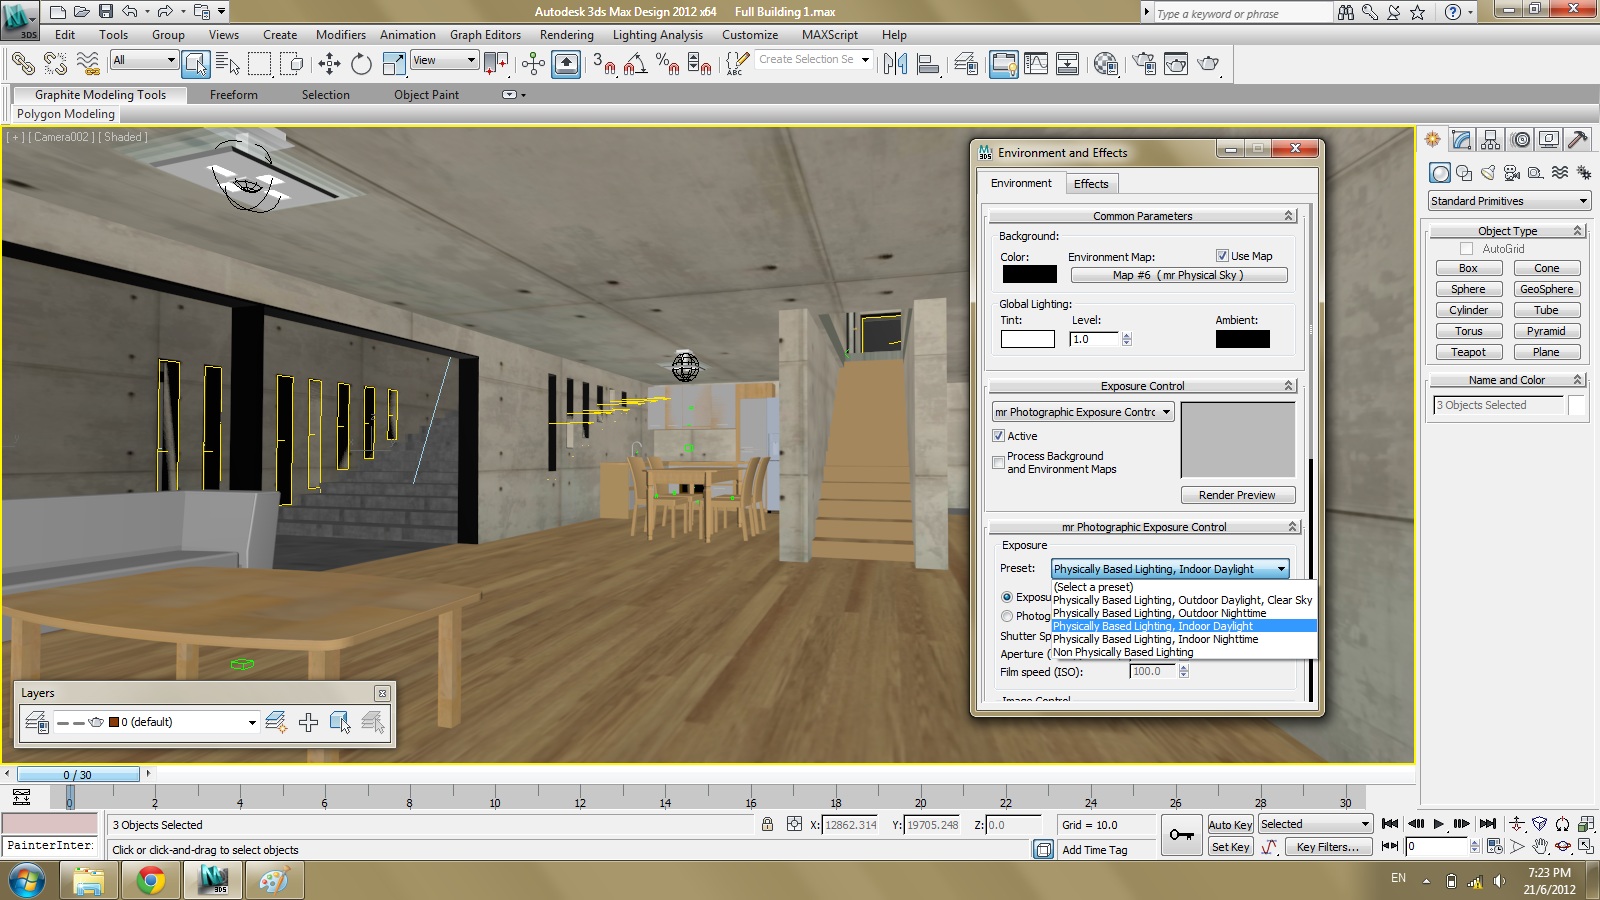 |
| Before your render, remember to change your exposure to indoor daylight. |
 |
| This is a draft i rendered before i added the sky portal. |
 |
| This is the draft i rendered after i added the sky portal. |
 |
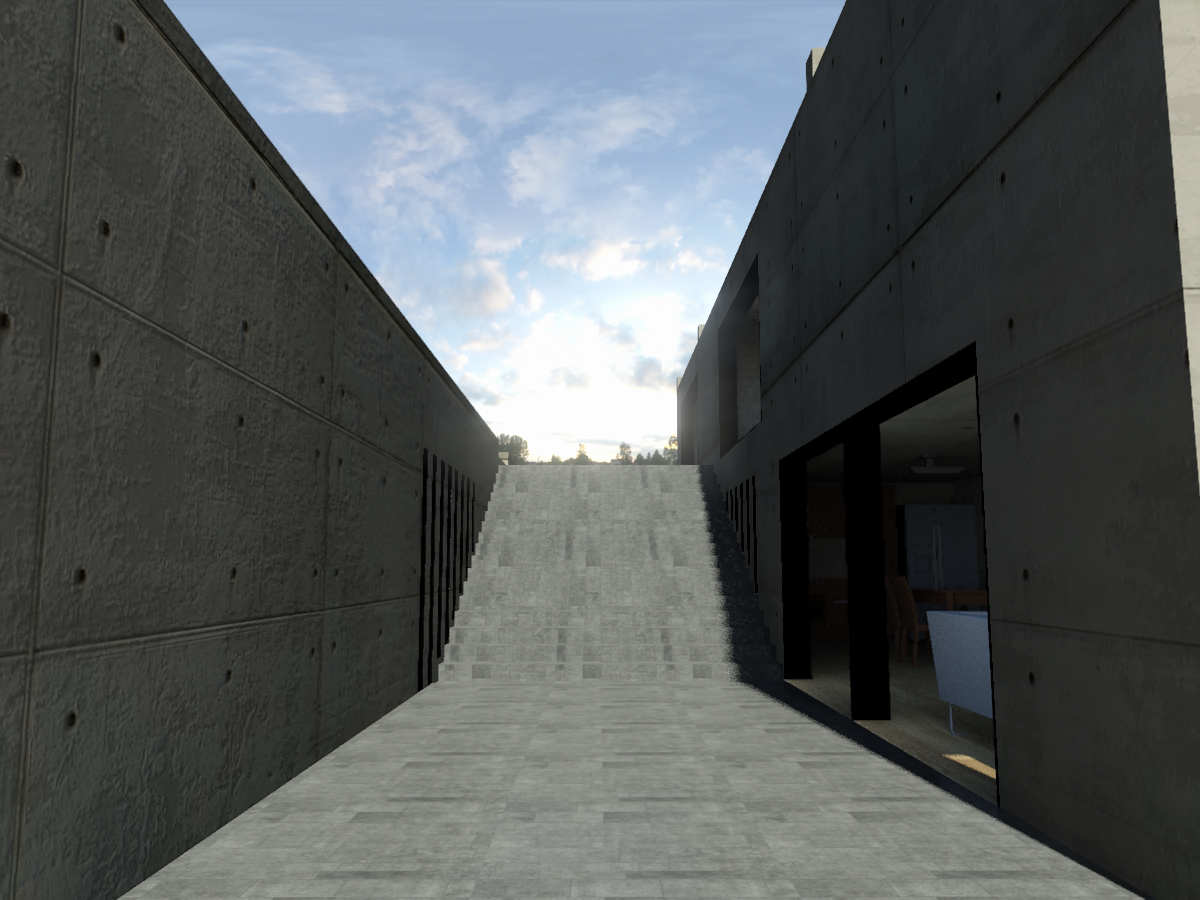
| My final render of the interior. |
 |
| Choose import. |
 |
| Select the downloaded models. |
 |
| Merge it with your file. |
 |
| To be on the safe side, group your downloaded model together so that you can move it easily. |
 |
| Rescale it to an appropriate size. |
 |
| Arrange it in the space you want. |
 |
| You can import as many furnitures as you like into your model but take note that it will increase your rendering time as well as increase your file size. |
 |
| First, you choose the place where you want your window to be. |
 |
| Make a box on that specific position with the correct width. |
 |
Then you drag it out or isolate it to ease your work.
|
 |
Hold shift while you rescale the box slightly smaller than the original one and choose copy instead of ins
|
 |
| After that scale it out to have a bigger width than the original one. |
 |
| Select the original box and go to compound object and select Boolean. Click on "pick operand B" and select the smaller box in the middle. |
 |
| Then, you get your frame. For the glass, choose plane and place it in the middle of the frame. |
 |
| Assign your material to the frame and the glass. |
 |
| Group them together to ease your work. |
 |
| Move it back to its space. |
 |
| There you get your windows. |


